I thought I would update this thread with some of the interior buildout in Clarence to make him a Campervan
BedSo the plan was always to have a Fixed Bed (the main reason for going for a LWB LT) and to have it raised up to make a useable underbed storage space aka "Garage" (although I am not looking to have a motorbike or suchlike there).
I decided to use an IKEA Bed as the basis and make adaptions for my particular requirements and for fitting in a vehicle. So here is the bed near enough complete
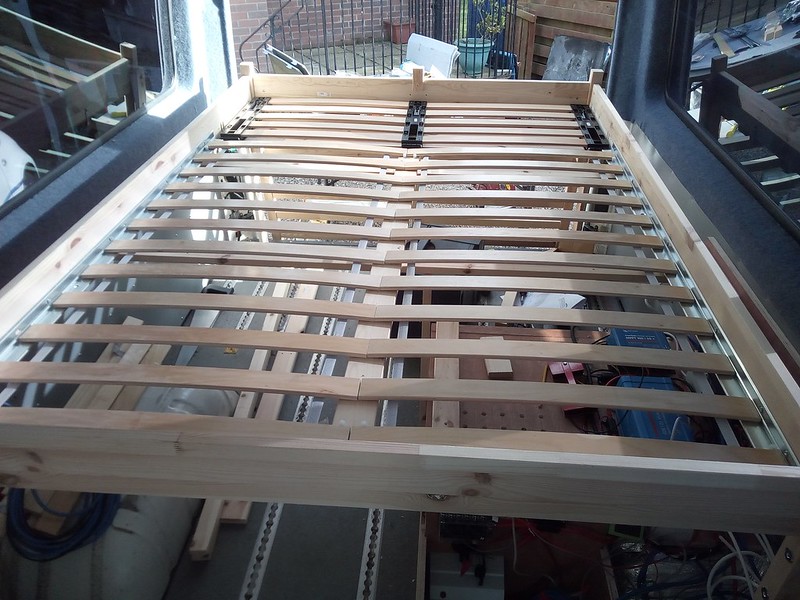
Camper Bed by
David, on Flickr
I didn't use the standard IKEA metal centrebar but uses a 1x4 plank insead, running most of the length and with additional side and bottom supports.
The slat support runners were cut short as well, so the IEKA slats end after 12 slats rather than the full 17. This is to make room for a funky extra

The Bed will also be used as a bit of a chill-out lounge for watching TV or surfing the internet, etc, so I decided to add in a Headrest system from Froli. This picture shows it raised up
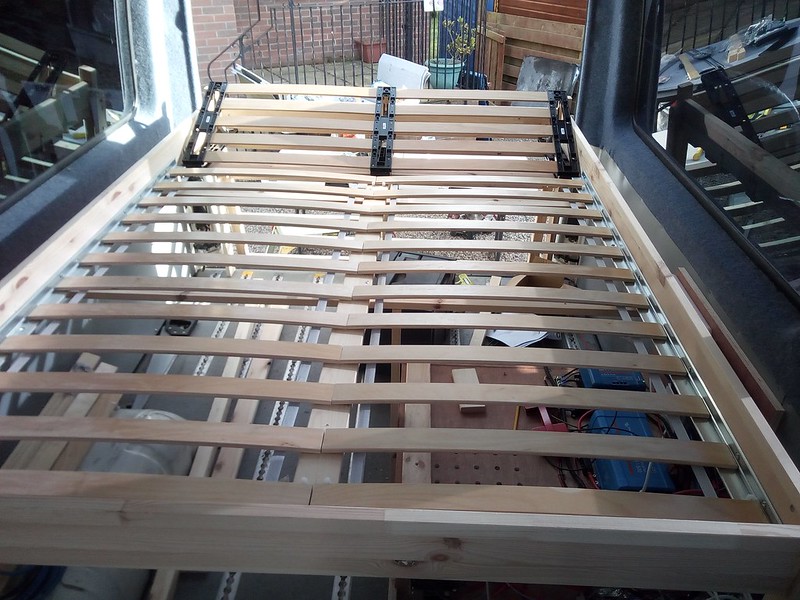
Camper Bed - Raised by
David, on Flickr
This increases the height by upto 17cm (the default is 21cm, but I lowered this entire section in the frame so when the headrest was flat, the slats in it would be flush with the rest of the bed slats).
It is a very well made product I think and it works a bit like a deskchair where you pull up the top a little and it raises up and clicks into place. Pull up again, and raises some more and clicks into place. There are 5 different positions (including FLAT) and this is the clever bit ... pull up the 5th time and it drops flat

so no need to go round to the back and release anything like some other tilting systems.
The frame size is of astandard double bed size so can get a standard mattress for this. Chose this size so it would be away from the windows a few inches to avoid the bedding touching the cold sides of the van for best comfort as well as allowing for side cubbies as mentioned.
Height wise it is low enough to be able to sit up in bed without rubbing head on ceiling, and hight enough to crawl underneath to access the electrics (Batteries, Inverters, Solar Controller) below it.
So you might notice a couple of things in this next photo in the bed area ...
Well, the internal width at the bed height is around 5' 5" so I have gaps between the bed and the sides. This was always intentional as I wanted to keep the bedding away from the windows and potential damp. Also I like - just like at home - to have a place next to the bed to put a drink, leave the phone by, or magazines, a book or whatever. So I fitted a pair of long shelves ...
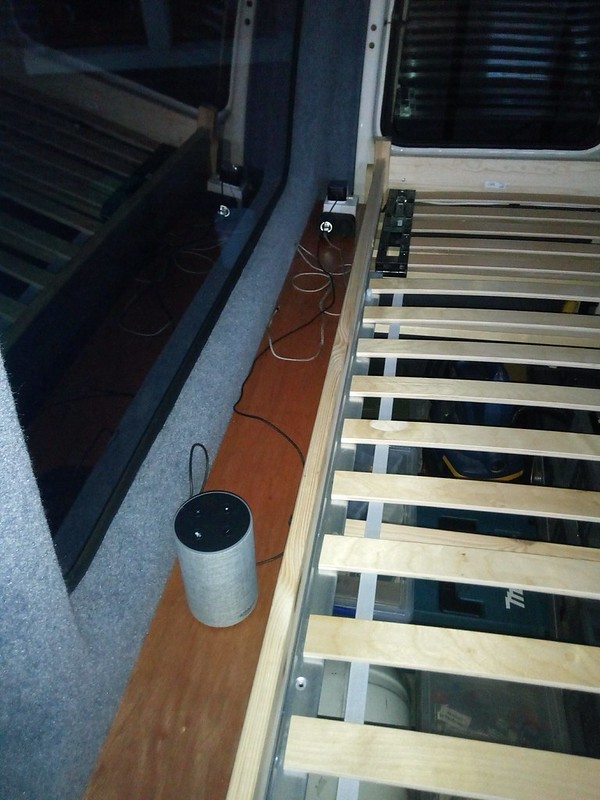
Shelves by
David, on Flickr
This I think is going to be perfect for resting anything on (they are VERY sturdy).
I also fitted on both sides some power options - on the DC side got a 12V Socket and a pair of USB sockets, so ideal for phone and tablet charging. And on the AC Side, got a 13A Socket (actually fused at 3A) on both sides. These will be handy for Laptop Charging, as well as other uses as needs be. For example yuo see there I have an Amazon Echo plugged in, so great for listening to some sounds while working away. I expect one socket could get used a fair bit to run an electric blanket as it will be so easy to just switch on and off.
And finally the Mattress in place
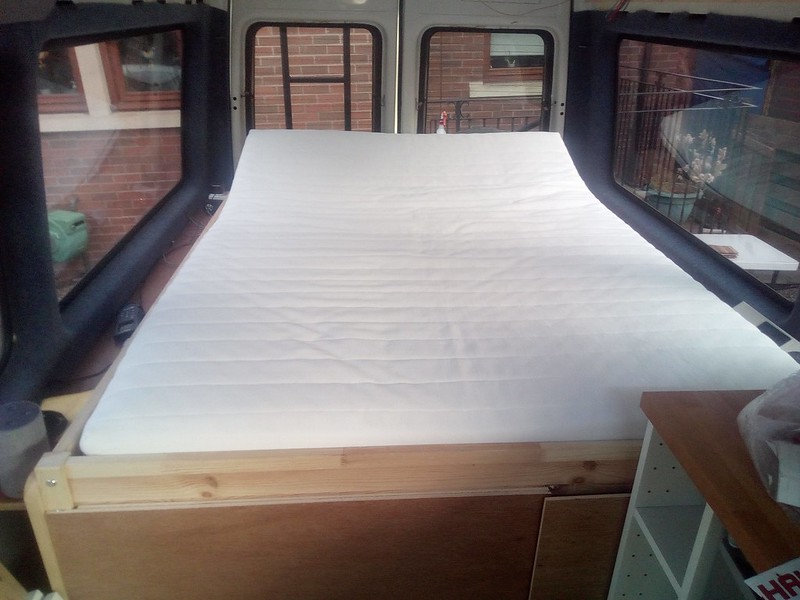
Mattress fitted by
David, on Flickr
Bit of a test drive and really pleased with the raised head section - very handy and the bed is super-comfortable
 Kitchen and Living Area
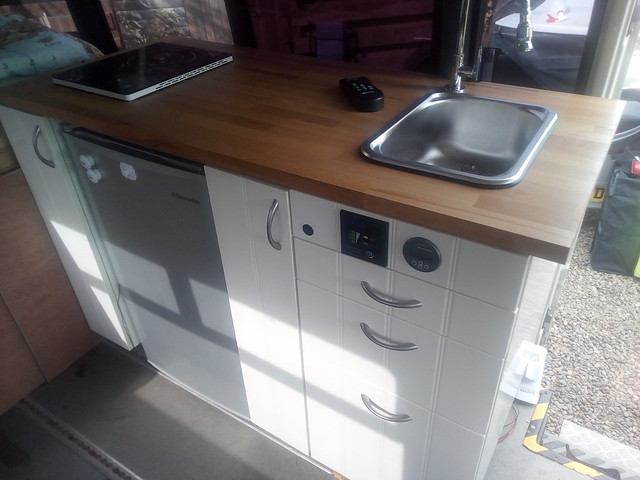
Like my previous conversions, I elected to go with IKEA kitchen cabinets. They are cheap and with the addition of of good wood glue and rear pieces to strengthenm, they are well up to the rigors of being used in a vehicle. Weight is a factor, but my van has a big payload so it is not a vital one (the vehicle also rides a lot better with addtional weight!).
This is what my Kitchen looks like:
 IMG_20180525_092136
 by
David, on Flickr
To stop the doors and drawers opening on the move, used a couple of handy but low-cost solutions:
I have used the push-to-lock door knobs in the past, but they are very expensive for what they are IMO. This time I bought these -
Cupboard Child Locks, Adoric Child Safety Locks Magnetic 6 Locks+2 Keys Adhesive Baby Drawer Locks No Drilling: Amazon.co.uk: Babyimages-na.ssl-images-amazon.com/images/I/71rKuYyJexL._SL1500_.jpgI like these as they are invisible in use and when you are parked up, you can set them to unlocked which is very handy.
The other lock I use on the Fridge is a strap that clips on and stops the door opening (I have no lock on mine as it is a domestic model).
For cooking I have a 2kW Induction Hob, powered either by mains or a 2500W Inverter if 'wild camping'. The sink is a neat little unit with a standard single-input feed. This comes from 25L storage containers via a pressure-sensing water pump.
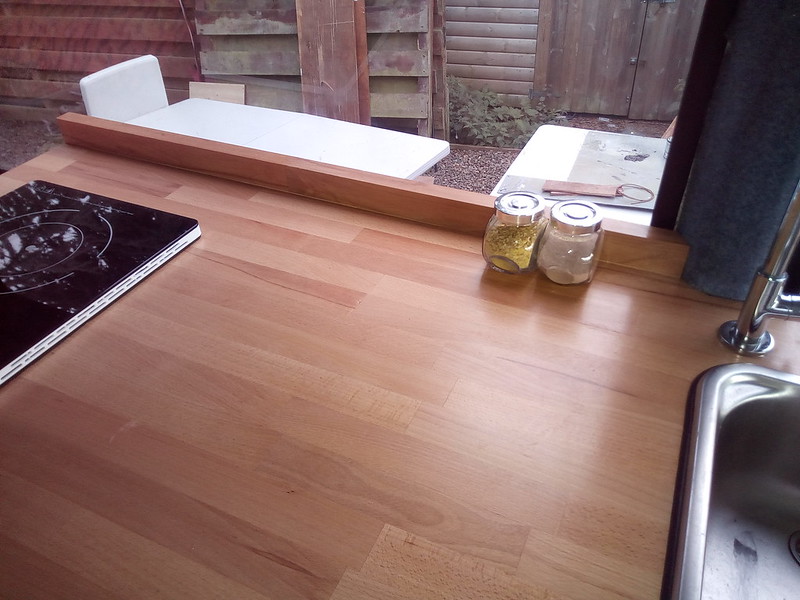
After I took those photos above, I have added is an Upstand
Upstand by
David, on Flickr
This has been on the to-do list for a while as if anything sides off the top behind, it can drop behind the fridge and is virtually impossible to retrieve. So the Upstand goes down right to the window sill ledge so anything behind can be easily got back.
And means it is easy to just push bottles aside when cooking without loosing them!
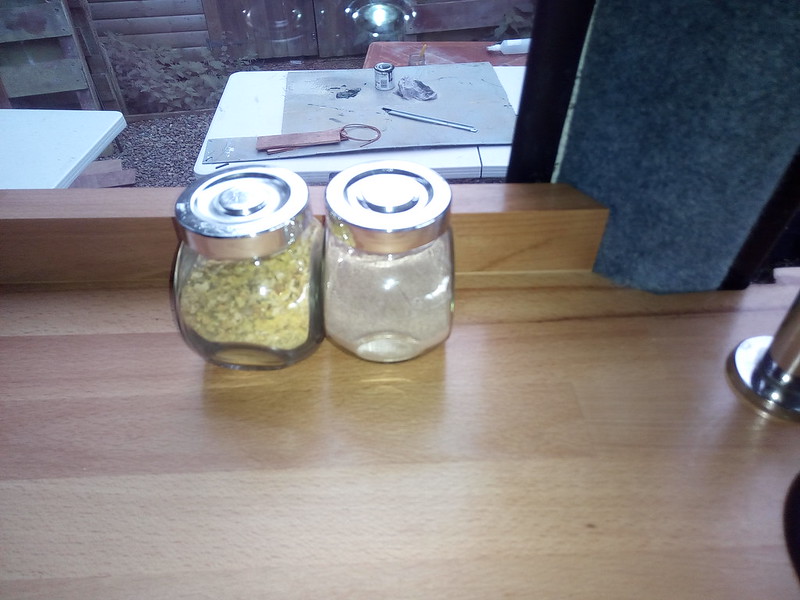
Spices safe and sound by
David, on Flickr
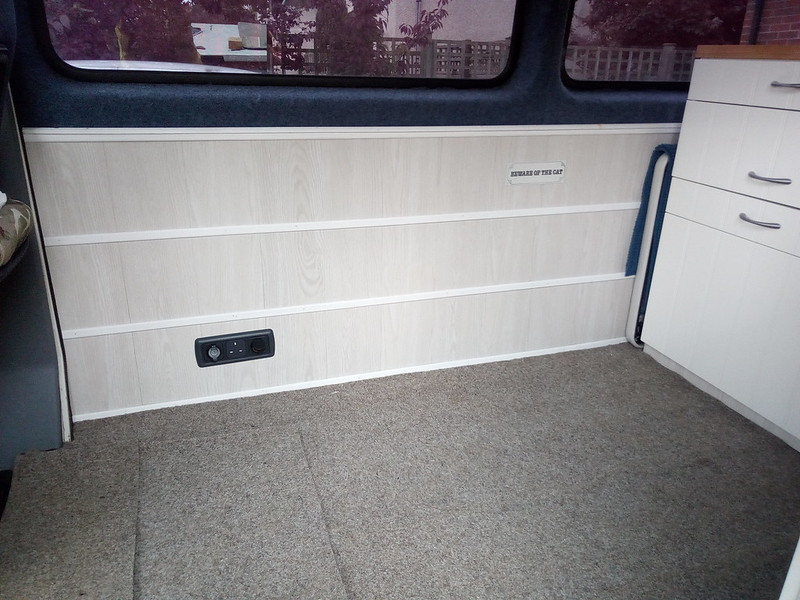
I am NOT fitting a toilet/shower room inside as decided like the openness of the interior and ability to be able to walk around inside rather then do sideways shuffling.
So this large section behind the [swivelling] drivers seat is nice and open
Dance Hall by
David, on Flickr
Now I know what I am doing there I was also able to finish off the panelling to replace the pretty yucky looking plastic sheet with paint smears on it

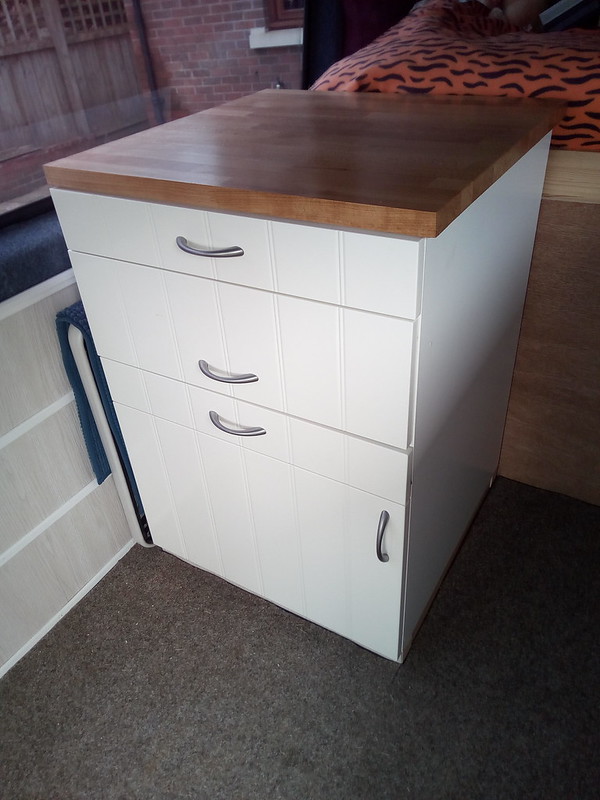
Cupboard by
David, on Flickr
This has been fitted slightly offset away from the wall to allow storage of the removable table at the side (with a bathmat to keep in snugly in position).
It is another IKEA Kitchen Unit with a bit of tweaking only really evident when you open the doors...

WC Cupboard! by
David, on Flickr
The Bottom half stores the Portapotti. Not for use here, but a place to keep it out the way, stop it tipping over, etc. (yup, happened once a month ago but not after it had been used thankfully!). We have a Shower tent that is put outside in the Safari Room which we put the loo into, but try to avoid using it generally (I was away at a country park a while ago in Northhumberland and just used the toilets in the visitors centre for example). Back of the compartment is a storage section where I can keep paper, toilet chemicals and the like and to the left is a general storage area for cleaning and bathroom products. And finally on a small shelf above I have room for slim things such as a Laptop, trays and whathaveyou.
In the middle is a Drawer - not yet worked out what that will be used for but it will be handy for something no doubt.
The top looks like a drawer but is actually a pull to a top loading chest area
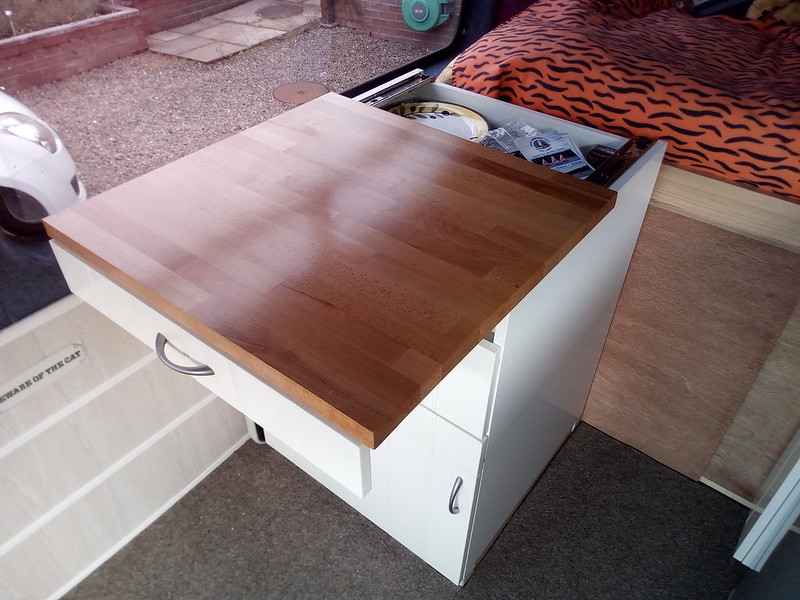
Ottaman by
David, on Flickr
Handy extra worktop area as well of course and with the deep storage in there filled it with loads of random stuff right now.
And added a little bit of wall storage by the door
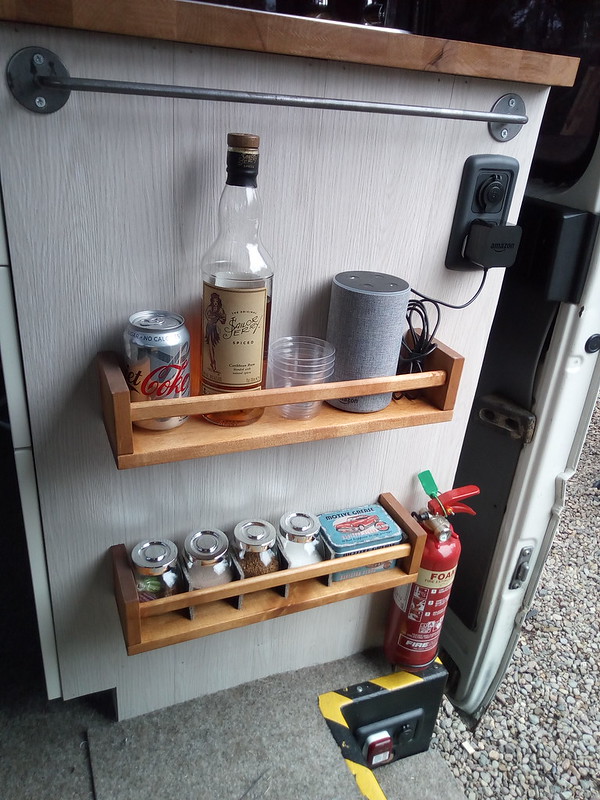
Racks by
David, on Flickr
These are dead handy to keep the frequently used stuff such as Tea, Coffee, Sugar, Sailor Jerry Spiced Rum (

), etc.
Plus my Amazon Alexa Echo as well is there now :band2:
Something that is non-negotiable when it comes to having a Campervan conversion recognised as a "Motor Caravan" is a table. You MUST have a table and it MUST be able to be fixed to either floor or wall, even if you never intend to use it.
I decided to use a standard 'Lifetime' Table I had already and add a detachable post and mount to it.

Table by
David, on Flickr
But having a chrome-finish leg doesn't really go with the general theme and appearance.
Travelling a few thousand miles south, a TV Programme I enjoyed watching was "Sea Patrol", a drama based around a ship in the Royal Australian Navy. and in Series 2 they got a new ship, and on the Bridge of that new ship they seem to have what looks to me like a Cat Scratching Post
 SeaPatrolPost
 by
David, on Flickr
From the first time I noticed that, I thought it would be great to have some kind of scratching post in my Camper for the cat, who loves her scratching post AND loves chilling out in the van.
So here is my own weird take on that
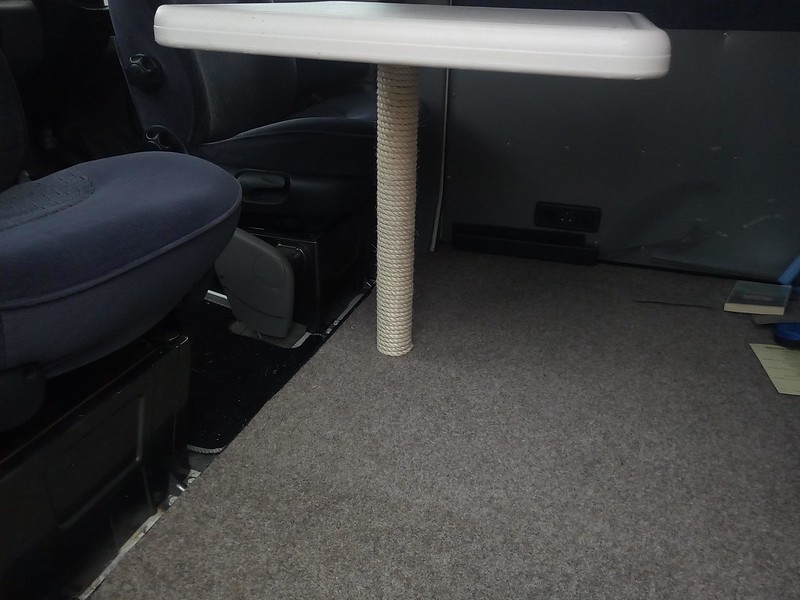
Cat Scratcher Table by
David, on Flickr
Oh, and an under table shot to show how the table itself is dual purpose
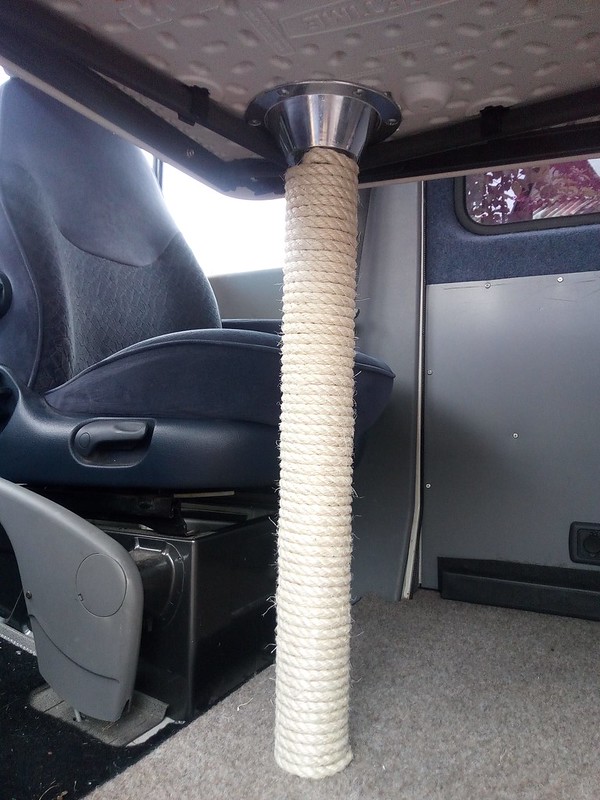
Table underside by
David, on Flickr
The original legs are still fitted and functional, and the post mount is secured in place by both Sikaflex Adhesive and Bobby Ball (short and fat) Screws, plus the legs when closed go over around 30% of the mount surround which also keeps things nice and tight.
Clarence is ...Clarence the Overland Safari Camperbus is now officially a Motor Caravan

:TU: :yes:
I was hopeful but not 100% sure as I only have single Hob top and depending on what DVLA go on, some operatives will be ok with one 'ring', but others will want to see two (In my letter I described it as a 2kW Hob, so it is blooming powerful!)
But the Postie came :post: and
Computer says YES :camper:

Clarence The Motor Caravan by
David, on Flickr
So as well as meeting the Insurance Requirements (reclassify within 3 months) I can drive at car speeds (as I have a ticket from a certified weighbridge that the ULW is under 3.05t which is a key parameter)
The "Garage"In the camper I created a large storage space under the bed ... "The Garage".
A fair portion of that space is taken up by the 440Ah battery bank and associated Power Devices (2 x Inverters, MPPT Solar Controller plus a couple of other switching gadgets). but to the right of the battery box there is a 6' long space and behind the box is a 3' space.
I want to keep the long space available for - well, long things, but decided to organises the 3' space.
I get fed up with having loads of stacked boxes and searching for stuff and moving boxes out the way to get to the ones behind. Plus as you drive, the boxes all move around which is not ideal.
So the space to organise ....
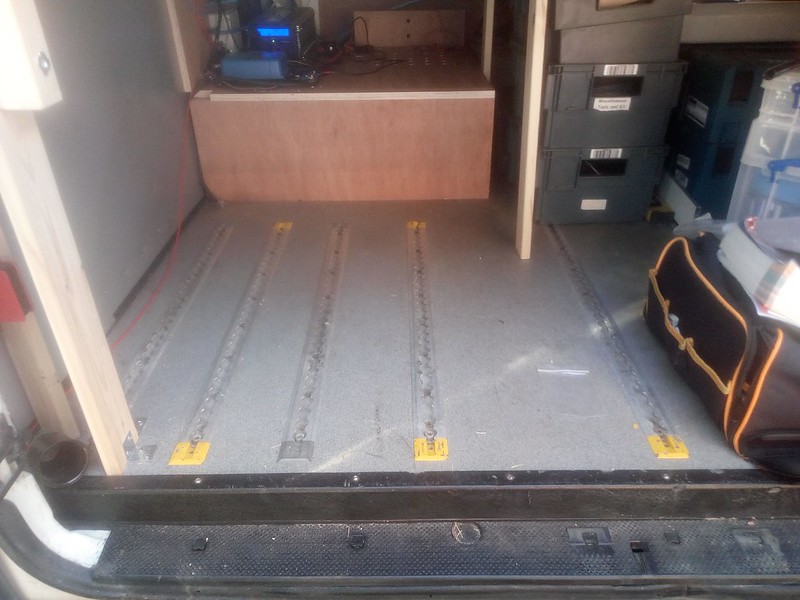 IMG_20180517_191328
 by
David, on Flickr
Did some careful measuring as space is a premium and didn't want to block off any space if I could avoid it.
Built a box.
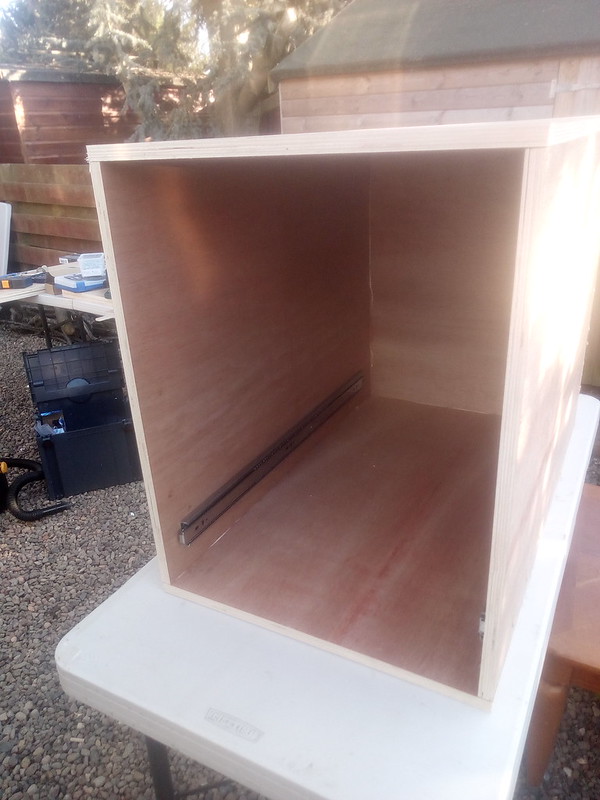 IMG_20180517_191346
 by
David, on Flickr
Maybe went a bit overboard with 18mm Ply and a ton of pocket screws plus glue
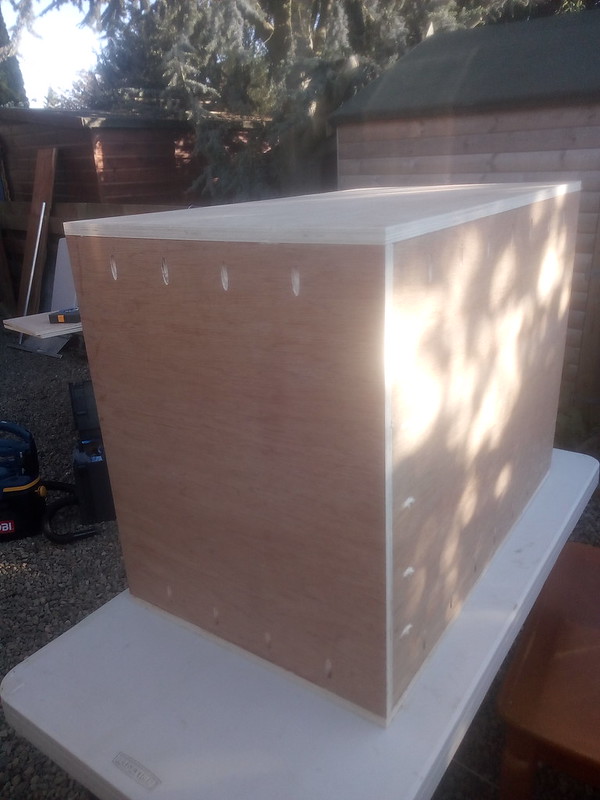 IMG_20180517_191357
 by
David, on Flickr
but didn't want this to shift around and twist from driving
Fitted into the Space
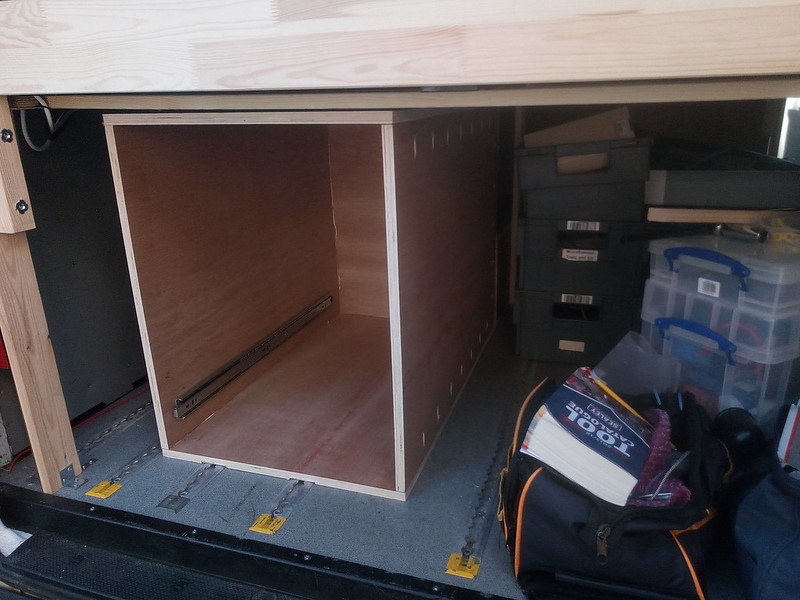 IMG_20180517_193315
 by
David, on Flickr
The size was worked out to allow access to the narrow section to the left of the carcass. That space is ideal to store stuff like the internal and external thermal blinds soo they are out the way but fully accessible.
Next step - Drawer to go into the housing
 IMG_20180518_143253
 by
David, on Flickr
Built to be practical rather then decorative so didn't worry too much about exposed pocket screws and edges.
Routed in some slots inside so I have drop in drawer dividers depending on what is in the drawers
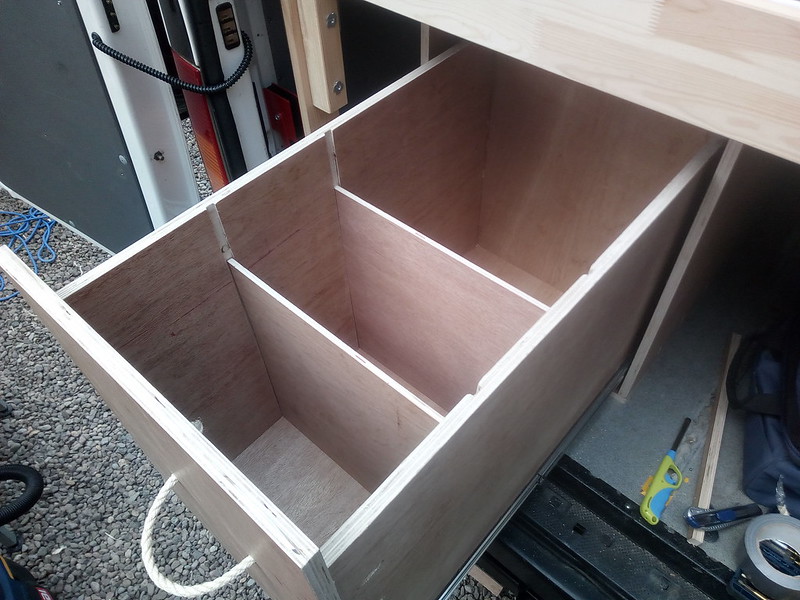 IMG_20180518_143309
 by
David, on Flickr
Now there is some space wasted by having a drawer cabinet (around 100mm - 4" across is used up by the wood and around 50mm (2") amount used up height wise and depth wise) and the weight factor as well, as I used thick heavy-duty ply, but I'm hoping the benefit of an organised space and ability to keep stuff easily accessible will outweigh that

So a little update showing the internals of Clarence there


 and so no tail lift needed anymore
  (but in the car)




 so no need to go round to the back and release anything like some other tilting systems.


 ), etc.


